


Introducing "Samantha," our newest Hollywood Regency beauty! This piece turned out soooo gorgeous! When I spotted her in one of my favorite local antique shops, I knew I had to have her! The paint was faded and a bit dingy, but the detailing was stunning. The craftsmanship was perfect, and I knew with a little "re-loving," she would be gorgeous! After I purchased her and was loading her into the car, imagine my delight when I saw this marking on the bottom:

A LANE piece! Lane has been a producer of fine furniture since 1912, and is probably most famous for their cedar chests. In my family, it is a tradition for all the girls to receive a LANE hope chest on their 16th birthday. I still have mine, and it is my most prized possession. I've read that the serial number reveals the date it was created. It is the month-date-year backwards. So this piece would have been made on January 16th, 1965. The first year that LANE started creating accent pieces. While I was hesitant to repaint such an old and lovely piece, she desperately needed some TLC. It doesn't look that bad in the photos, but in person she was quite shabby and dingy...

Here's a step-by-step guide to the re-loving process...

Equipped with various grades of sandpaper, I got to work! Be sure to have a good quality dust mask and safety goggles (or big obnoxious sunglasses will do the trick!). I used an orbital sander on the flat surfaces and a smaller triangle shaped sander to get into the detailed areas. I sanded away any imperfections in the wood, and roughed up the surface a bit, so that that the primer would adhere properly.

I applied two coats of primer - KILZ 2 is a water based latex paint, and can be used for interior and exterior jobs. It's by far the best primer I've found.

Onto the paint...I decided to use a bright white flat paint, and a high gloss black paint for the details.

Peanut decided to help with the first coat! Onto the second...

I had originally planned on somewhat replicating the original paint, and painting black on all the areas that were gold. But halfway through (and several hours of work with a tiny art brush), I realized the black was much too strong and overwhelming, and actually detracted from the beautiful woodwork. So I had to go back and do two more coats of white to cover up the black that I had done! Eesh...
My lil' helper was worn out by this point...

Onto the newly refined detailing...

After I was satisfied with the exterior, it was time to move onto the inside!
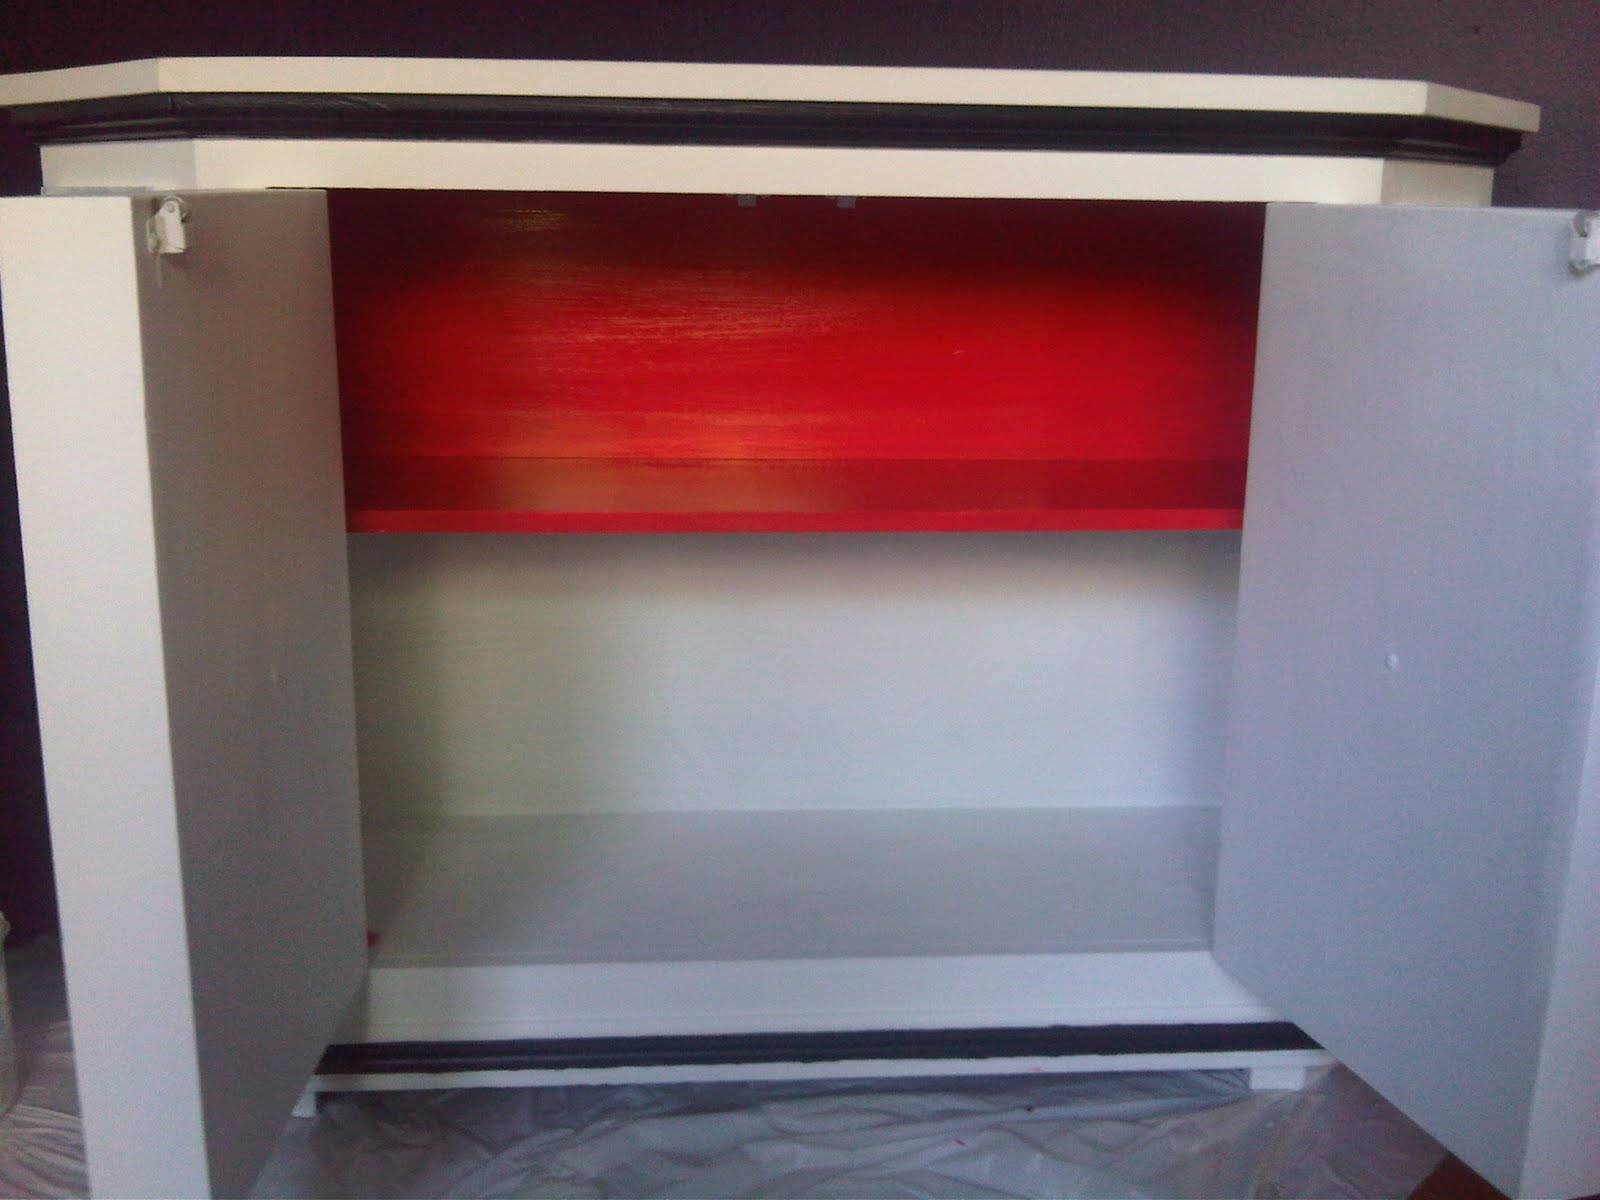
I used this amazing paint that my paint guy recommended. I am in my local paint store ALL the time, working on "re-loving" projects, and the guys are always great about helping me choose the right type of paints for my pieces. This new paint by Benjamin Moore is a water-based acrylic gloss enamel. It's magical! The finish is so glossy and gorgeous! I wanted the inside of this buffet to be ultra sleek and shiny and almost lucite-like, and this paint gave me exactly that. I'm sure I'll be using it on lots of projects to come! (The paint was rather expensive, but the coverage was great, and the results are worth it!)
After two coats on the interior, I sealed the entire piece with a water-based polyurethane by Benjamin Moore. After the first coat, I lightly sanded with a 220 grit sand paper to make sure the finish was perfect. A second and third coat of the poly, and viola!!! Samantha is fini!


I'm so in love with how it turned out! I'd love to keep her for myself! But my house is already full of pieces I've re-loved, so this baby is now for sale in my Etsy shop! Check her out!


2 comments:
WOW! That is stunning! Nice work!
Beautiful! I want it!!!
Post a Comment